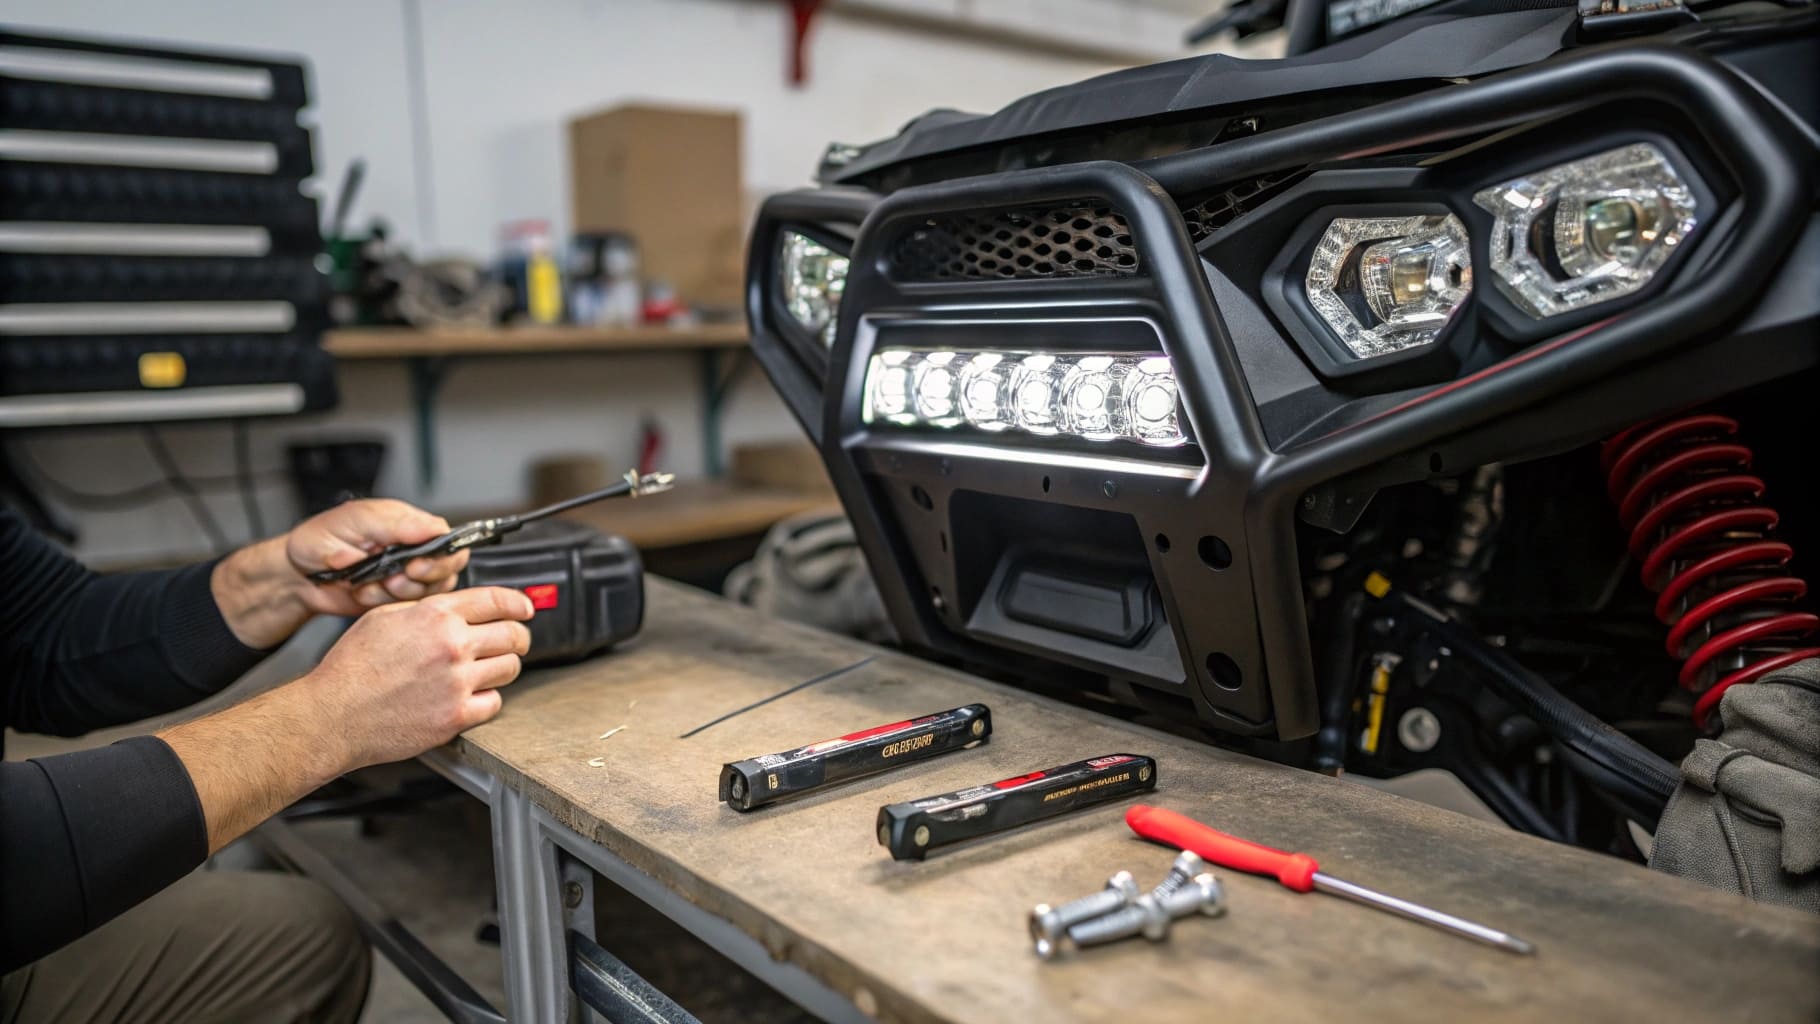
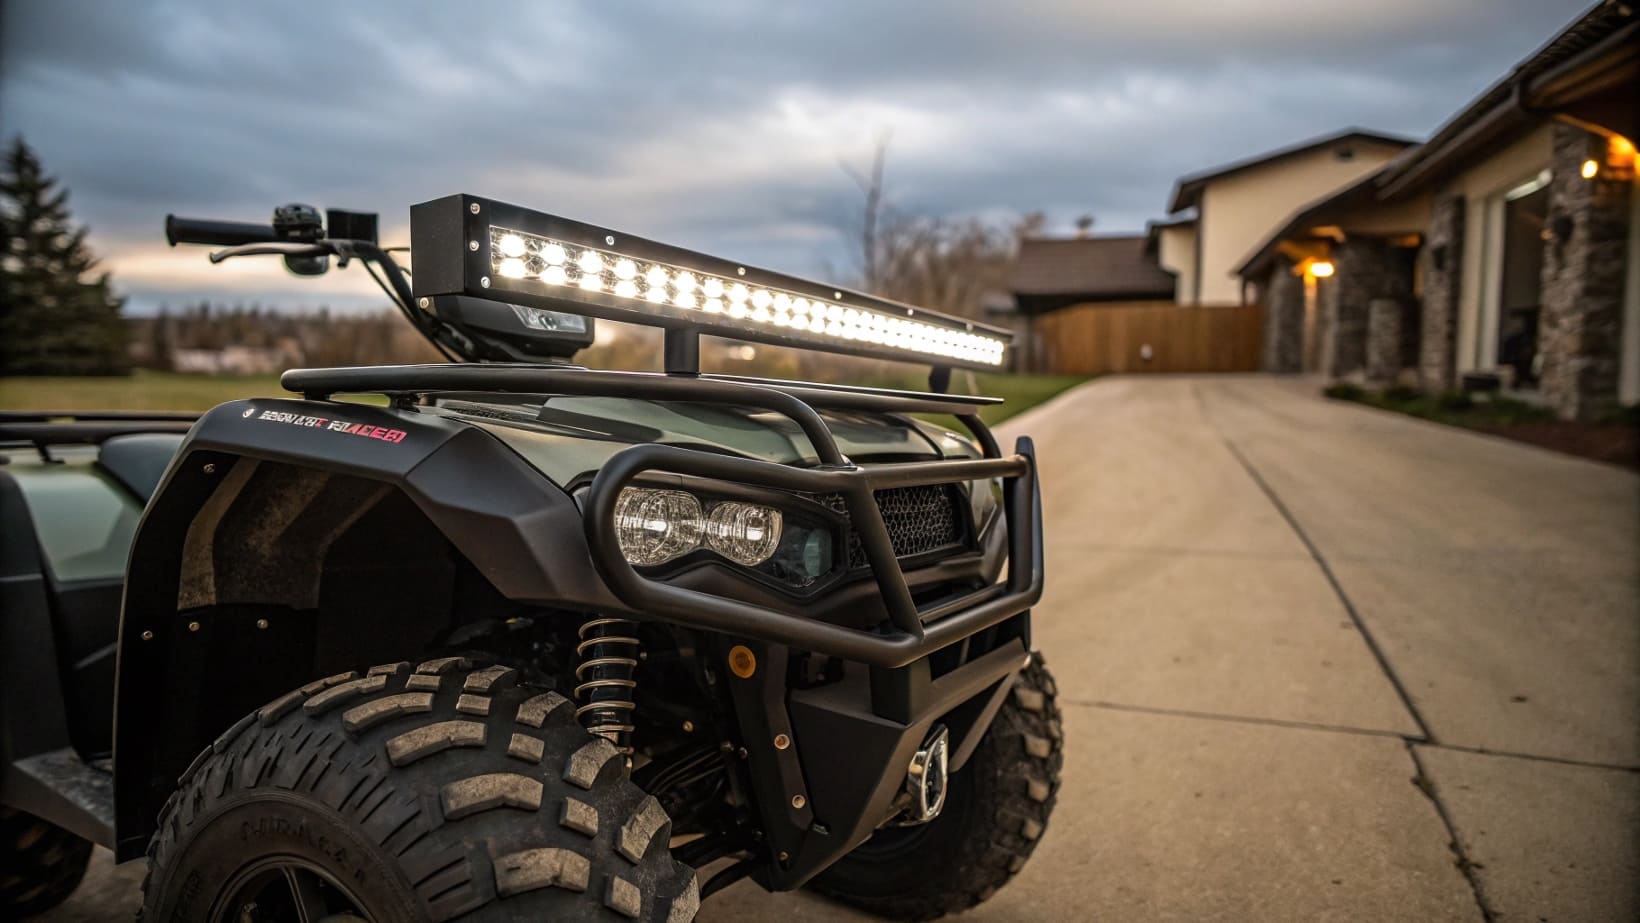
Many ATV riders worry about low visibility in the dark. That feeling can be discouraging. I will share a simple way to install a light bar step by step.
Installing an ATV light bar is easier with clear steps. First, gather tools and the correct light bar kit. Then, disconnect the battery and mount the bracket. Next, secure the light bar, connect the wires, and test. Finally, make sure all connections are tight. This process ensures reliable nighttime visibility.

I know you might want more details. Let me break this down.
How do I install a light bar?
Many people feel confused about wiring and brackets. They think it is complex. I will break it down so you can install your new light bar with ease.
You can install a light bar by first mounting the bracket, then securing the bar in place, and connecting the wiring harness to a fuse or relay. After that, reconnect the battery. Make sure to test the lights to see if they work well. This method is direct and reliable.

I want to share a more detailed approach, especially if you are new to installations. I remember my first time trying to attach a light bar on my ATV1. I had doubts about wiring and bracket placement2. I learned that slow steps help the most. I planned each step and checked everything twice. Now, I want to give that same level of detail to you, so you do not miss anything important.
First, I suggest collecting all items you need before you start. That might sound obvious, but many people begin without checking if they have the right screws or wire connectors. It is also important to set aside enough time so you do not rush. I prefer to tackle this on a day off. It helps me stay focused and calm.
Below is a simple table that shows the basic tools I use:
| Tool Name | Purpose |
|---|---|
| Socket Wrench Set | Tightening and loosening mounting bolts |
| Wire Strippers | Exposing wire ends for connections |
| Voltage Tester | Checking electric flow and connections |
| Screwdriver Set | Securing brackets and panels |
After you gather tools, remove the negative terminal from your ATV battery3 to avoid shocks. Then, choose a sturdy spot on the front rack or handlebars to place the light bar. Secure the brackets, tighten the bolts, and make sure everything is level. Next, connect the wiring harness according to the instructions from your kit. If it comes with a relay or fuse, attach them in a safe spot away from extreme heat or moving parts. Finally, reconnect the battery, turn on your ATV, and test the light bar. If it shines, you did it right. If not, double-check each connection.
How long will a light bar run on a 12V battery?
Many owners worry their 12V battery might not last when powering an extra light bar. That can cause anxiety about battery drain. I will explain how to estimate runtime.
A light bar can run on a 12V battery for several hours, depending on the bar’s power draw and the battery’s capacity. Most light bars draw between 2 to 10 amps. To find the approximate run time, divide the battery’s amp-hour rating by the light bar’s current draw.

I know battery life is critical because you do not want to be stranded at night with a dead battery. I dealt with this concern in the past when I added an accessory to my ATV. I discovered that understanding battery capacity helped me plan my evening rides with confidence. Let us break it down step by step.
A typical ATV battery might have around 12 amp-hours of capacity. If your light bar draws 3 amps, you can theoretically run it for about four hours on a full battery (12 amp-hours / 3 amps = 4 hours). But that is an ideal number. In reality, you also need power to start the engine and run other electrical components. You should leave enough reserve capacity to avoid a surprise shutdown.
I suggest using a table like this to track important battery data:
| Specification | Example Value | Notes |
|---|---|---|
| Battery Voltage | 12V | Standard for many ATVs |
| Battery Capacity | 12 Ah | This can vary depending on the model |
| Light Bar Current | 3A | This will differ based on wattage |
| Approx. Runtime | 4 hours | Theoretical calculation, actual may be lower |
Also, temperature affects battery performance. In cold climates, the battery may deliver less power. In hot climates, you might face other issues like overheating. I keep an eye on my battery’s health by checking the terminals for corrosion and using a trickle charger when storing my ATV for long periods. A healthy battery runs a light bar better, so I recommend maintenance checks every few weeks. If you rely on your ATV for work or frequent night rides, a larger capacity battery or an upgrade might be worth considering. That way, you gain more uptime without the worry of draining your system too fast.
Do I need a relay for a light bar?
Some people think a relay is only for big trucks. They wonder if it is overkill for an ATV light bar. I will clarify why a relay matters.
A relay is helpful because it handles higher current loads and protects your main switch. Using a relay also improves safety by preventing voltage drops. For many light bars, a relay is recommended to ensure stable power.

I used to think that smaller applications did not require a relay. I changed my mind after talking to several mechanics who shared stories of fried switches and wiring troubles. A relay acts like a gatekeeper. It uses a small current to control a larger current. This helps keep your handlebar switch from carrying the full electrical load. When you flick the switch, you engage the relay4 coil, and the relay then powers the light bar with full battery voltage.
Relays also reduce voltage drop5. If you wire your light bar directly through a long path, the voltage can drop by the time it reaches the lamp. The relay shortens the path by tapping power closer to the battery. This leads to brighter and more stable lighting. In my experience, installing a relay is not complicated. Most light bar kits include a small relay box with color-coded wires. You connect the coil side to your switch and the battery’s positive, and the load side goes to the light bar. You then ground the relay to the frame or battery negative terminal. This arrangement keeps everything neat.
If your light bar has a lower amp draw, you might get away without a relay. However, if you are not sure, it is safer to use one. It gives you peace of mind. I learned that time spent on a relay setup is worth it. I do not have to worry about overheated wires or blown fuses. My handlebar switch stays cool, and my light bar runs at full brightness. That is a big deal when I go on long night rides. I want consistent light that will not fail in the middle of nowhere. A relay helps make that possible.
Can I wire a light bar directly?
People sometimes want a shortcut. They see a direct connection as simpler. I will discuss if that approach is risky.
Yes, you can wire a light bar directly, but it may cause higher stress on the switch and wiring. A direct connection might also lead to potential overheating or voltage drop issues if not done correctly.

I remember considering a direct setup when I first got an LED bar. I wanted the easiest path to light. But then I thought about potential risks. When I ran the wires straight from the battery to the switch and then to the light bar, all the current flowed through the switch. A high-amperage light bar can cause large currents, which may lead to melted switch contacts or wire insulation if those parts are not rated for that load.
A direct connection can also cause voltage drops if the wires are too long or too thin. Voltage drop reduces brightness and can overwork your battery. If you decide to go that route, you should use quality wire that matches or exceeds the current draw of your light bar. You should also pick a switch rated for higher amps. However, even with these upgrades, you might not get the same reliability or safety that a relay setup offers.
Sometimes, smaller LED bars with very low amp draw might work fine with a direct line. For instance, if your light bar pulls only 2 amps, a heavy-duty switch and short wires could be enough. But if you have a more powerful bar that draws 5 amps or more, a relay system becomes more appealing. I chose the relay route for my setup. It helps me sleep better, knowing that my wiring is unlikely to overheat. Also, testing for functionality is simpler because the relay isolates the switch from the full load. In the end, you can wire it directly if you understand these risks and plan accordingly, but in most cases, a relay will extend the life of your components.
Conclusion
Install your ATV light bar with careful steps, and remember these wiring tips. Your ATV rides will be brighter, safer, and more fun.
-
Discover step-by-step guidance to safely and effectively install a light bar on your ATV, ensuring optimal performance and safety. ↩
-
Learn the crucial tips for wiring and bracket placement to avoid common mistakes and ensure a secure installation. ↩
-
Understand the safety reasons behind removing the negative terminal to prevent shocks and ensure a safe installation process. ↩
-
Understanding the role of a relay can help prevent electrical issues like fried switches and wiring troubles, ensuring safer and more efficient operation of your devices. ↩
-
Exploring how relays minimize voltage drop can lead to brighter and more stable lighting, crucial for applications like light bars in vehicles. ↩


